

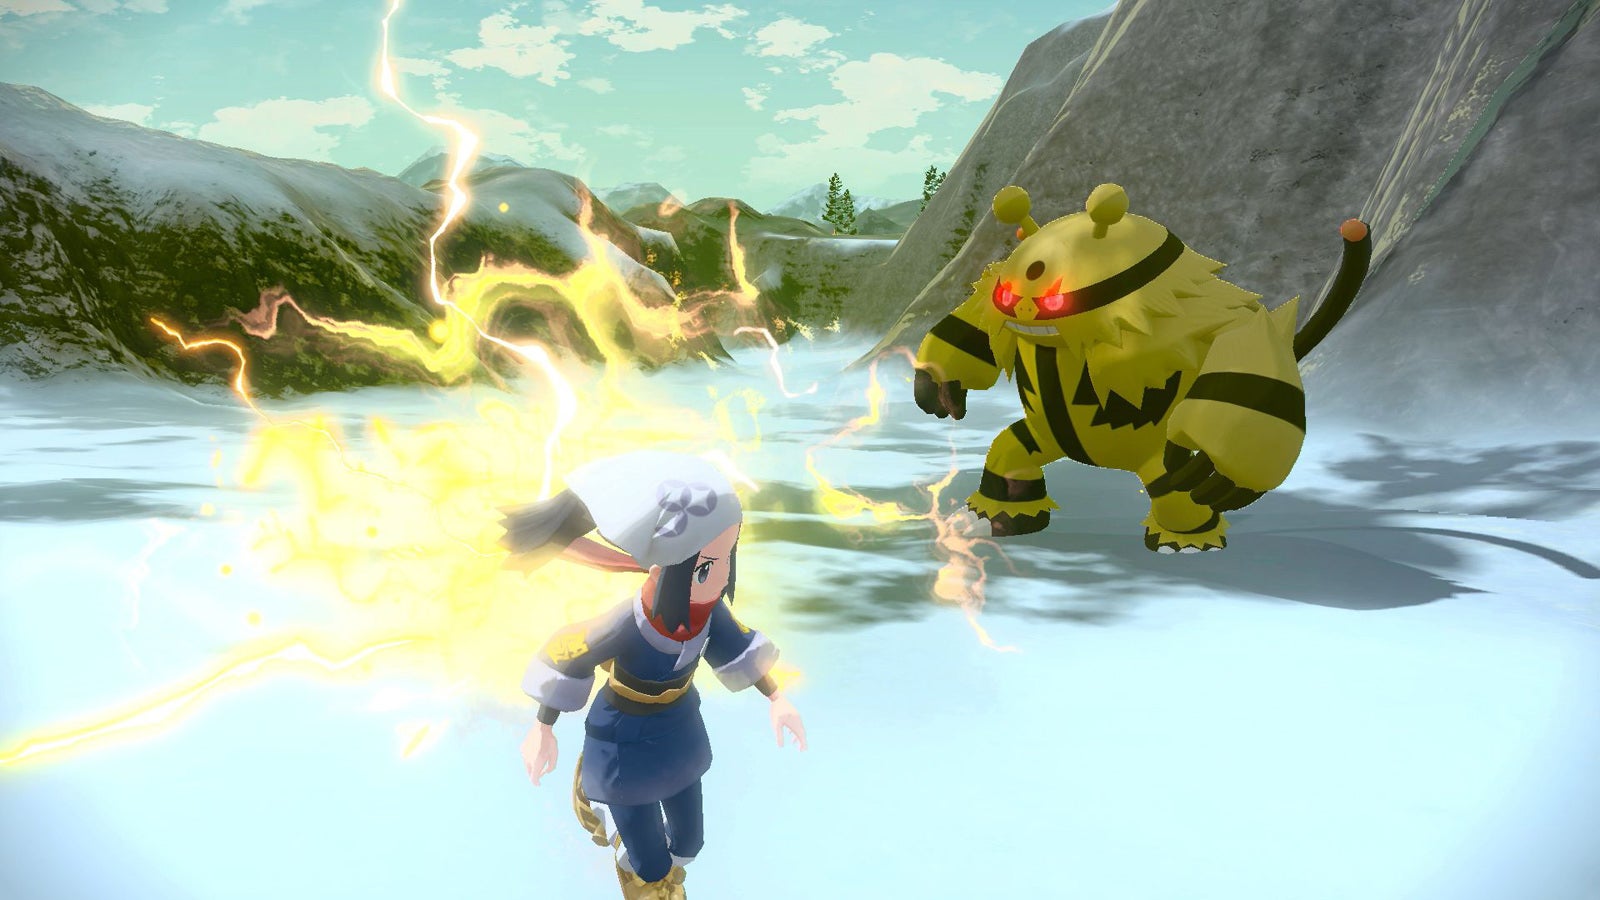
Pokemon Legends Arceus Kamado Fight
Pokémon Legends Arceus walkthrough and guide: All main Arceus missions and objectives listed
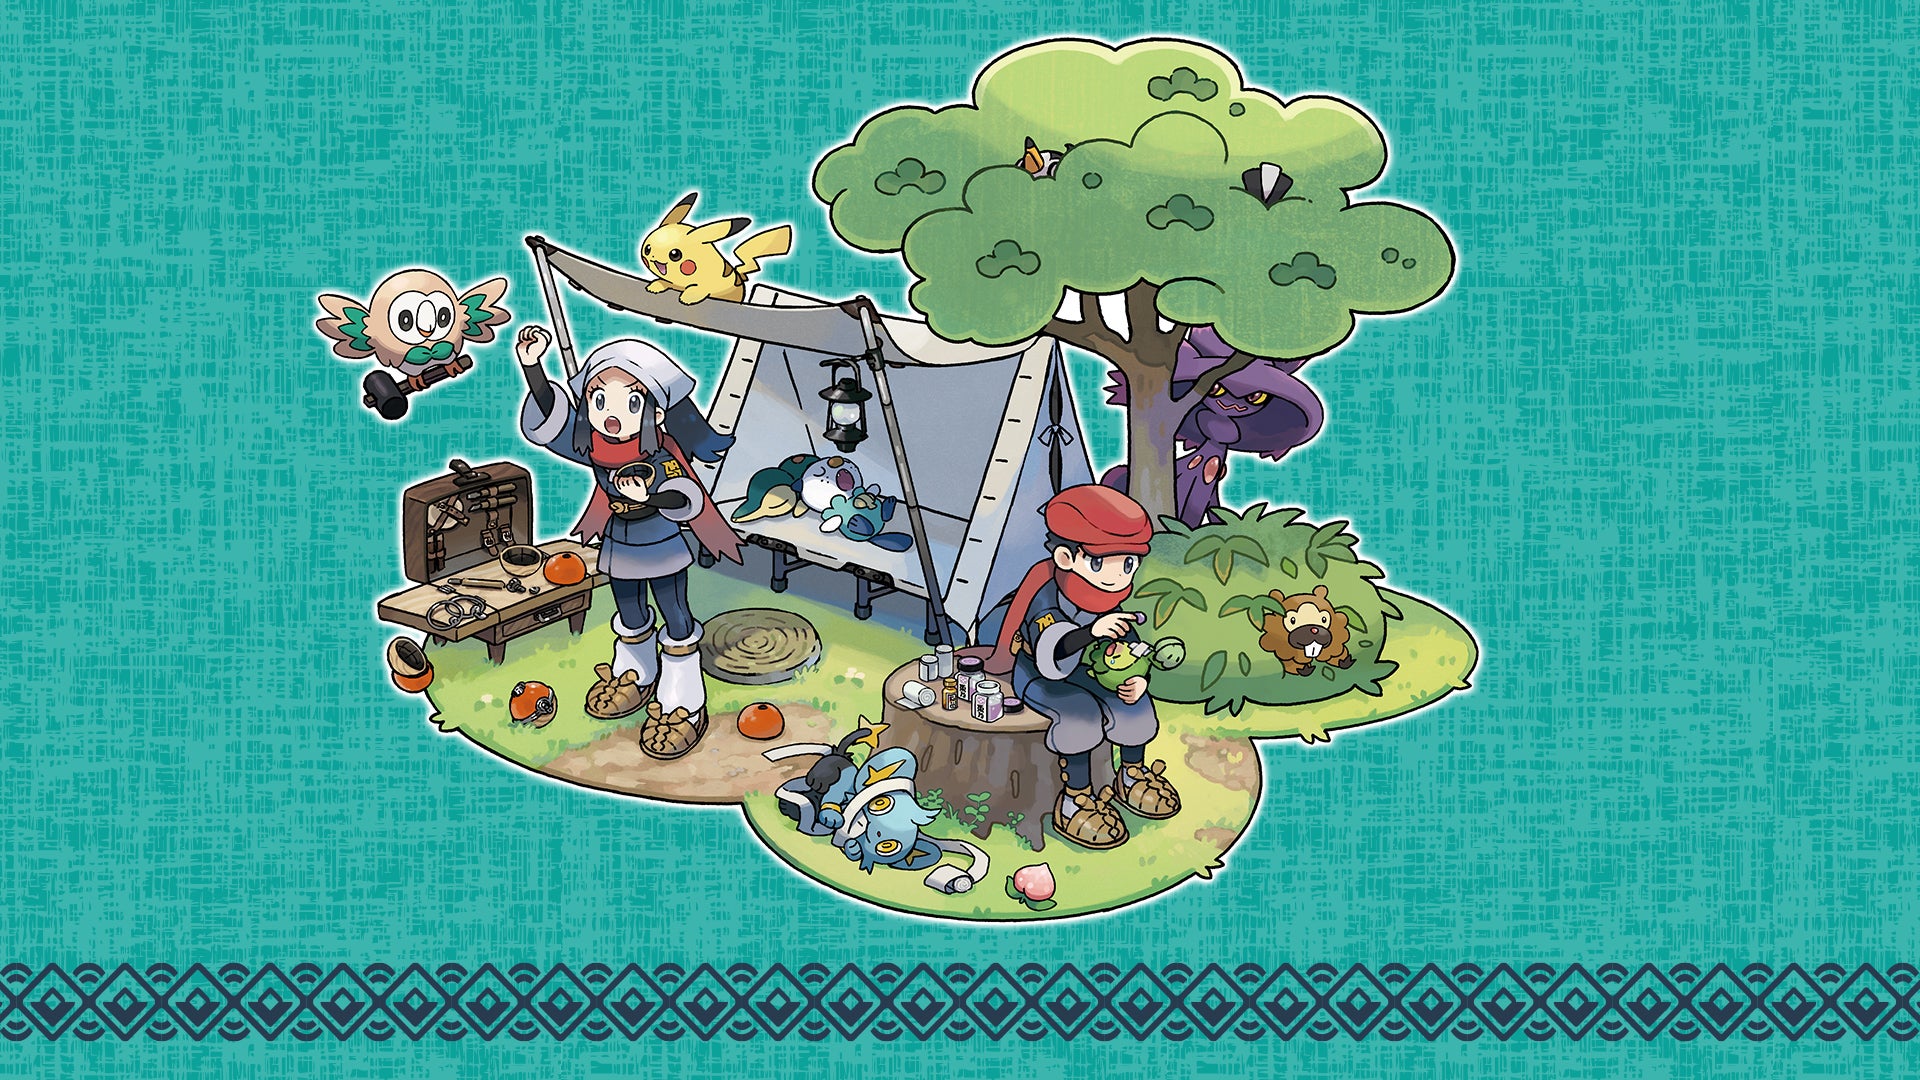
Our walkthrough for Legends: Arceus on the Nintendo Switch.

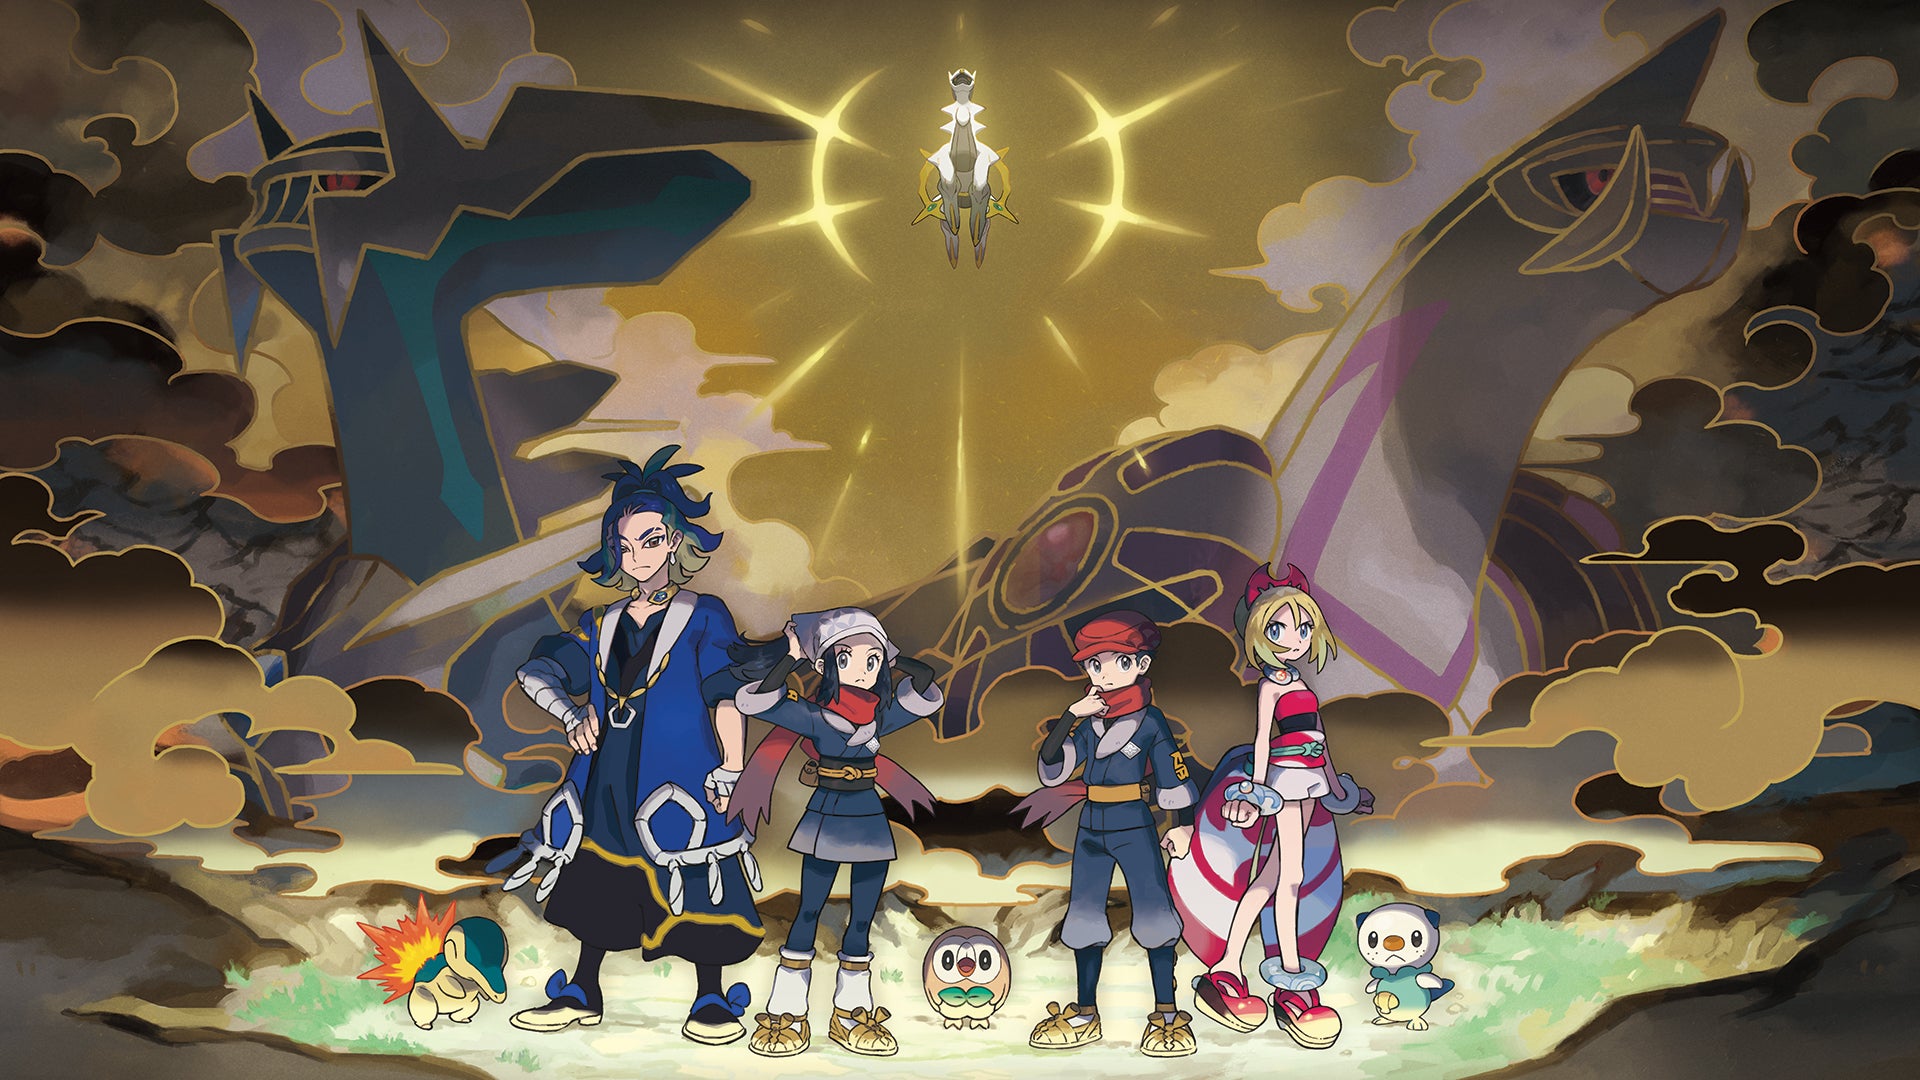
Pokémon Legends: Arceus for the Nintendo Switch breaks from the traditional Pokémon gameplay structure to give you an experience more than akin to Monster Hunter.
In Legends: Arceus, you take on the role of a contempo settler of the Hisui region - afterward known every bit the Sinnoh region - and join the Galaxy Expedition Team's Survey Corps. Every bit a Surveyor, your mission is to enquiry wild Pokémon with the ultimate goal of creating the region's showtime Pokédex.
Our Pokémon Legends: Arceus walkthrough lists all of the Missions, forth with their associated objectives, you must complete throughout the main campaign. There are also links to our other Legends: Arceus guides and, if you're not sure if the game is for y'all, check out our Pokémon Legends: Arceus review.
We too take a selection of Pokémon Legends Arceus tips at the stop of this page if you would rather non delve into the story yet. That said, i choice you lot know coming is picking a starter, and we can assistance with that also.
On this folio:
- Pokémon Legends: Arceus walkthrough
- Other Pokémon Legends: Arceus guides
- Tips and tricks for Pokémon Legends: Arceus
Pokémon Legends: Arceus walkthrough
Pokémon Legends: Arceus' master campaign is divided into a serial of Missions, each with their own objectives, which yous must consummate in a linear social club. Missions volition naturally start when you've completed the previous one, but you may have to raise your Star Rank with the Galaxy Expedition Team to complete sure objectives.
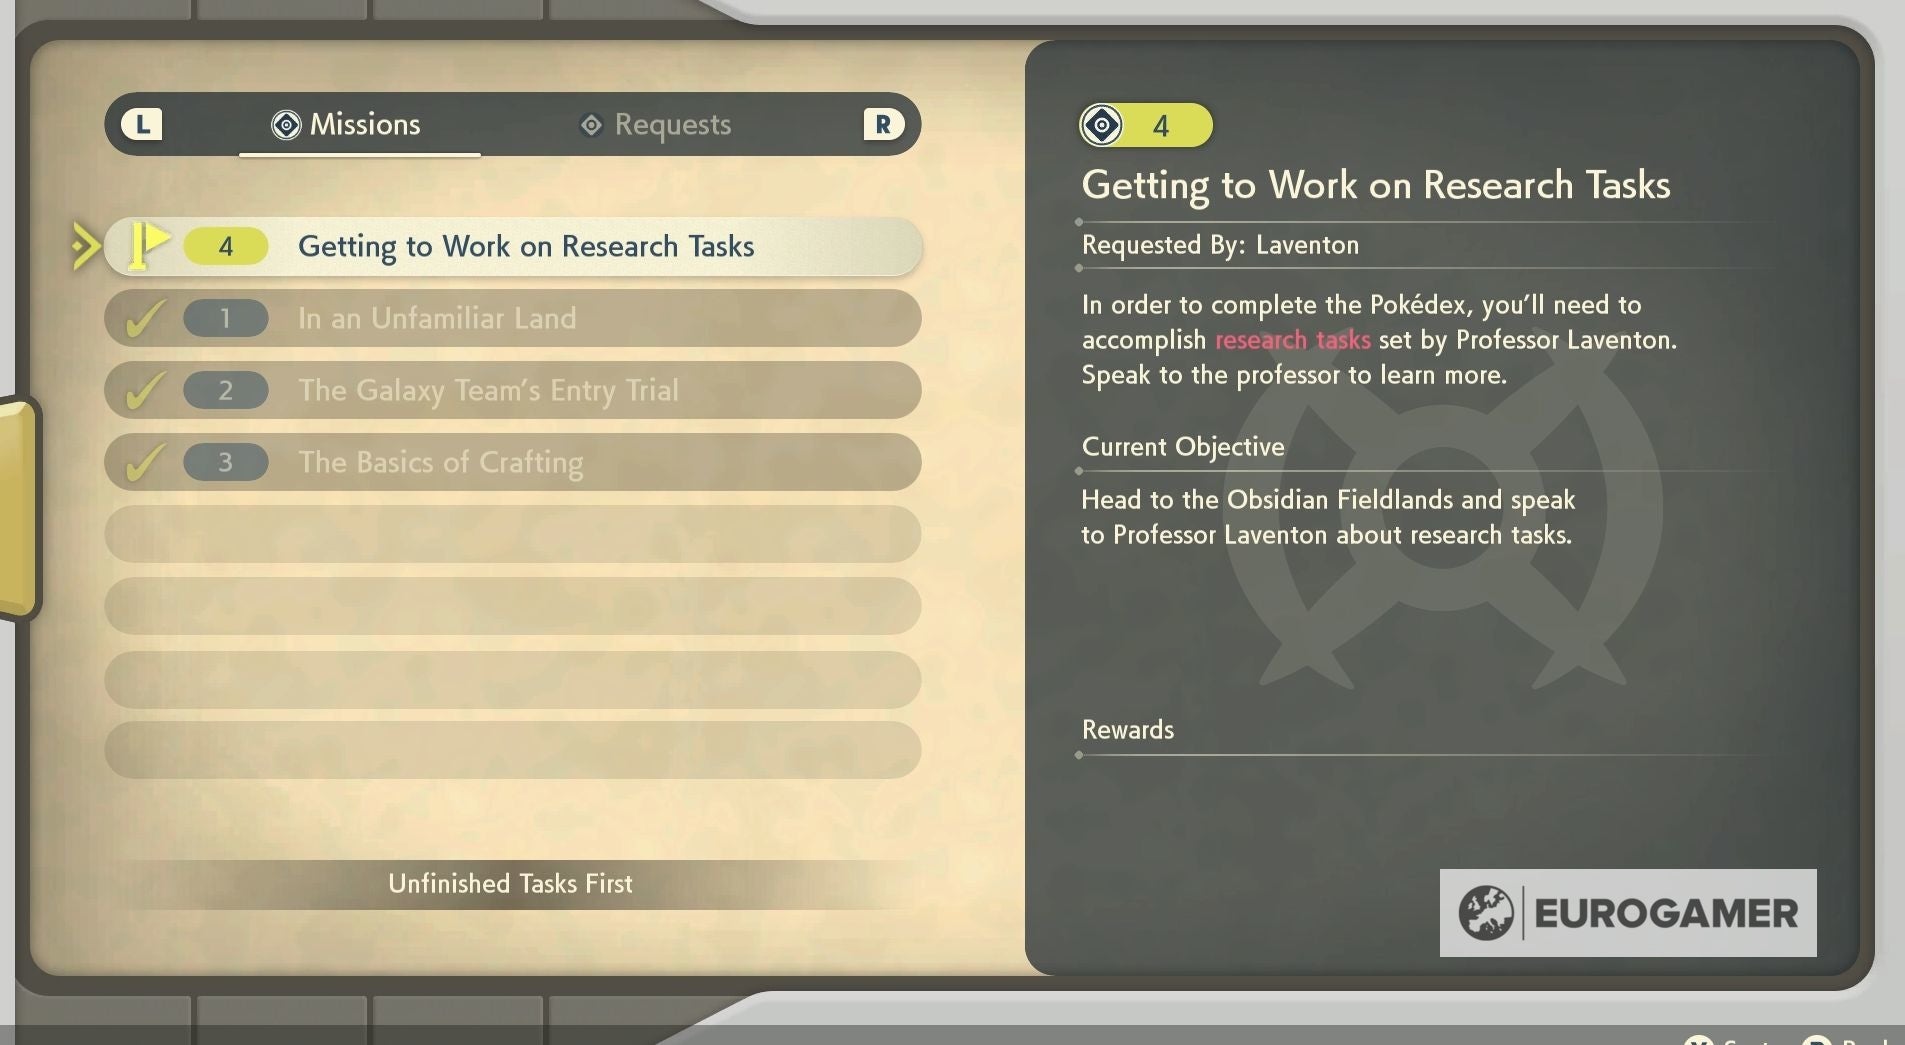
If yous e'er need to check your electric current Mission objective, visit the map view of your Arc Phone and press Y. This will open up a list of your electric current, and past, Missions and Requests; from here you can activate a Mission, and so its objective occasionally appears on screen as you lot play.
As you explore Hisui, you tin can besides complete both Requests and Enquiry Tasks to learn more than almost the region's Pokémon and help its residents. You can learn more nearly both Requests and Research Tasks on their defended pages.
Below y'all'll find our Pokémon Legends: Arceus walkthrough, which is organised past Mission order and the biomes y'all visit during them. This walkthrough does, however, comprise spoilers for the entirety of the game, so go on at your own risk.
Prelude Beach
- Investigate Arc Telephone.
- Throwing Poké Brawl tutorial - Catch Cyndaquil, Oshawott and Rowlet for Professor Laventon.
Jubilife Village
- i - In an Unfamiliar State
- Head to the Wallflower, which serves as the hamlet canteen.
- Head to the Survey Corps quarters you've been assigned.
- Sleep until morning in the futon in your quarters.
- Go to the Galaxy Team headquarters to hear nearly your trail from Captain Cyllene.
Jubilife Village and Obsidian Fieldlands
- 2 - The Galaxy Team's Entry Trial
- Choose a Pokémon to be your get-go partner in grooming for your trail. Cull between Cyndaquil, Oshawott or Rowlet.
- Defeat Volo in battle before departing for the Obsidian Fieldlands - Togepi Level five.
- Catch a Bidoof, the offset Pokémon species you need for your trail.
- Take hold of a Starly, the second Pokémon species yous demand for your trail.
- Catch a Shinx, the 3rd Pokémon species you demand for your trail.
- Report to Captain Cyllene most how your trail went.
- Employ the mirror in your quarters to change into your new Survey Corps compatible and Survey Corps sandals.
- Report to Commander Kamado in his office on the 3rd flooring of Galaxy Hall.
You'll obtain the Poké Balls crafting recipe for completing this quest.
Jubilife Village
- 3 - The Basics of Crafting
- Visit the craftworks to larn how to craft items.
- Apply the workbench to brand one or more than Poké Assurance.
You'll receive the Pokédex and various characters beyond the Hisui region will accept Requests for y'all upon completing this mission.
Obsidian Fieldlands and Jubilife Village
- four - Getting to Work on Research Tasks
- Head to the Obsidian Fieldlands and speak to Professor Laventon about research tasks.
- Follow Akari / Rei to learn some tips for conveying out research tasks.
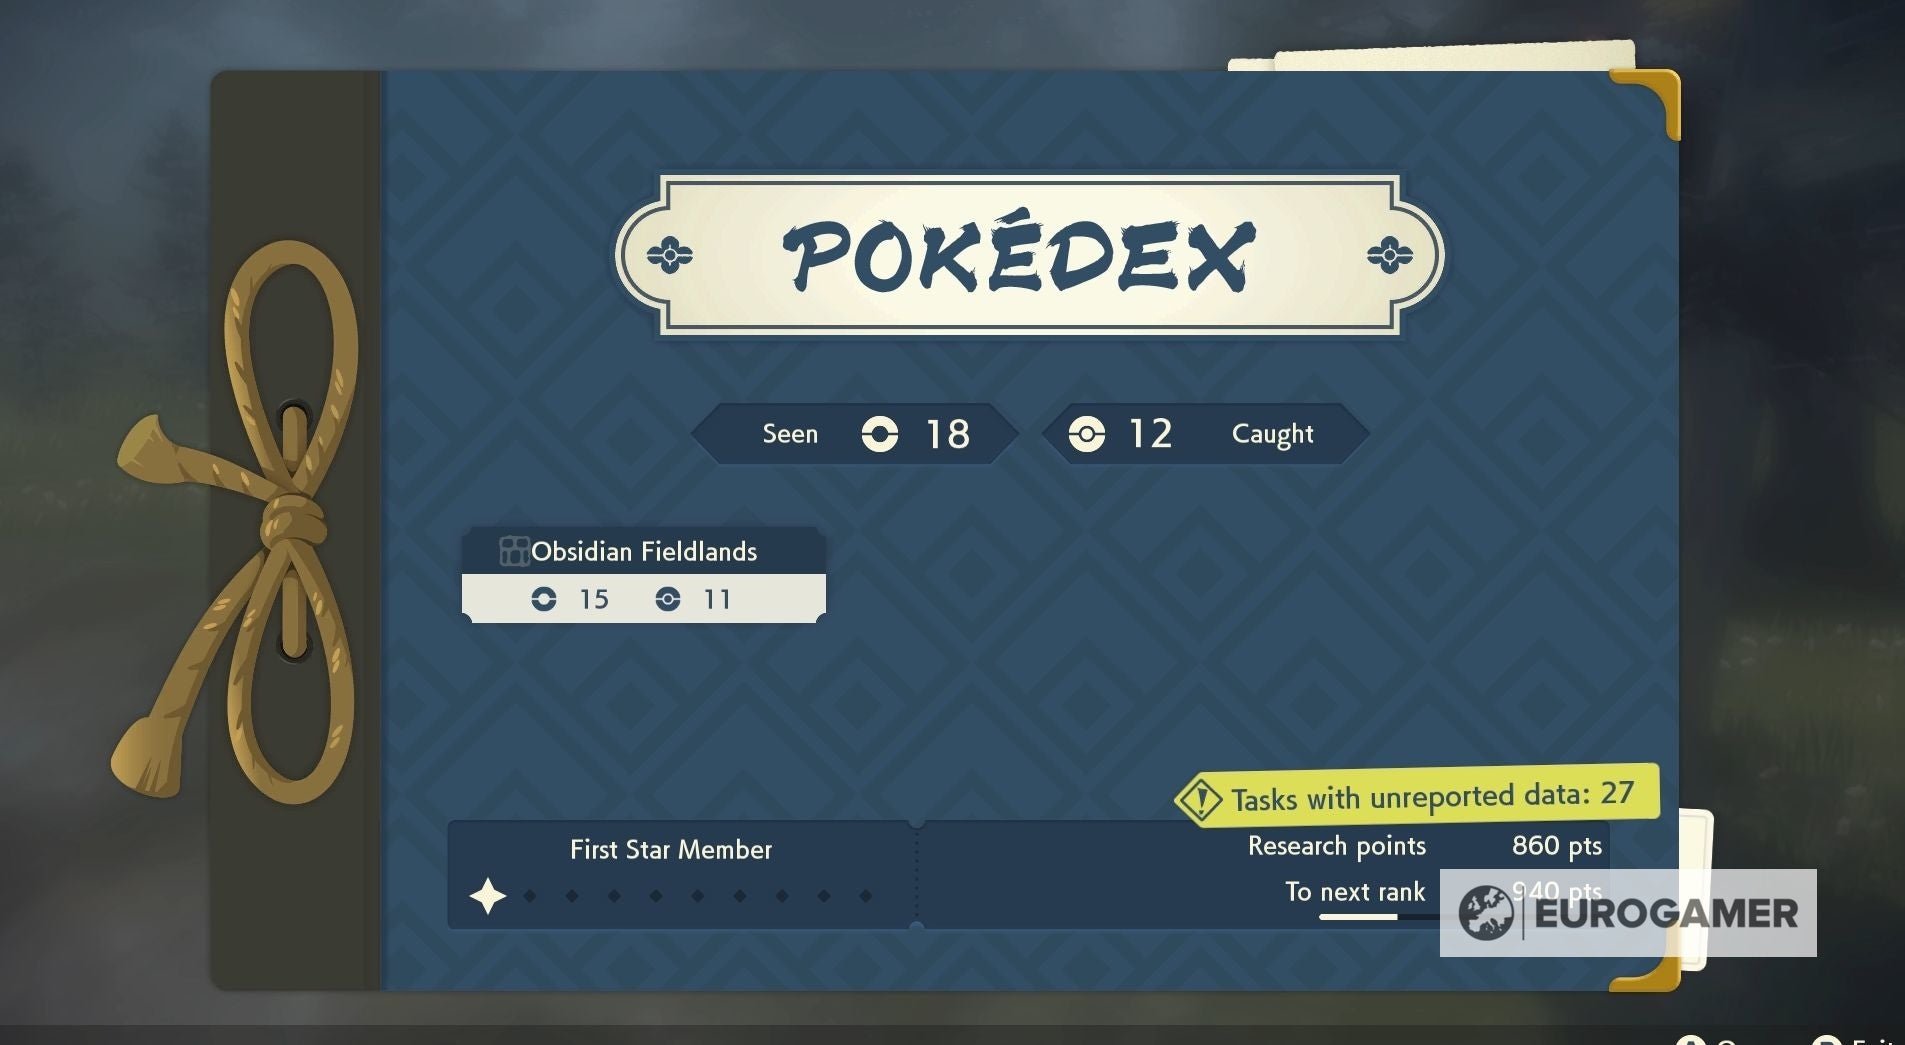
- Written report your search tasks to Professor Laventon and earn a sufficient number of Pokémon research points.
- Let Helm Cyllene know that yous've earned enough Pokémon research points to move upwards to the next Star Rank.
Akari / Rei will give you lot the Crafting Kit once you've listened to all of their tips.
Jubilife Village and Obsidian Fieldlands
- 5 - A Request from Mai
- See Akrai / Rei at the training grounds.
- Defeat Akrai / Rei - Pikachu Level 9.
- Become to the Obsidian Fieldlands to meet Mai of the Diamond Clan.
- Defeat Mai - Munchlax Level x.
- Brand your fashion to Deertrack Heights, where an alpha Pokémon is causing trouble.
- Defeat Alpha Kricketune Level 12.
Jubilife Village
- six - Summoned by Commander Kamado
- Report to the commander's office in Milky way Hall.
Jubilife Hamlet and Obsidian Fieldlands
- 7 - The Frenzy of the Lord of the Woods
- Report to your captain in her office to learn more almost your next mission.
- Discover your way to Grandtree Loonshit to speak with Lian and get information on Kleavor.
- Defeat Lain - Goomy Level 15.
- Head to a base of operations camp and report what you've learned to Professor Laventon.
- Work with Lian and Irida to make "Teatime Balls" from Kleavor's favourite food.
- Defeat Irida - Glaceon Level 17.
- Quell the frenzy of Kleavor, Lord of the Woods, at Grandtree Loonshit - Level 18.
- Study to Commander Kamado that yous have accomplished your mission.
During the above Mission, you lot'll receive the Celestica Flute to summon Mountain Pokémon and unlock the ability to ride Wyrdeer. You will likewise receive the Smoke Flop crafting recipe upon completing this mission.
Finally, when yous return to your room for the dark, yous'll be met by Vessa. She will give you the Odd Keystone, starting Request 22 - Eerie Apparitions in the Nighttime, and your hunt for all 107 wisps.

Jubilife Village and Crimson Mirelands
- 8 - Arezu's Predicament
- Follow Arezu to the commander's function.
- Complete enough research tasks to achieve the rank of Second Star Rank - if not done so already.
- Defeat Akrai / Rei when attempting to go out for the Crimson Mirelands - Mime Jr. at Level xix and Pikachu at Level 20.
- Head to the Solaceon Ruins, institute in the Red Mirelands, to meet Calaba.
- Defeat Volo - Togepi at Level 22 and Gible at Level 22.
- Track downward the shady bandits to reclaim the Wall Fragment they stole.
- Defeat Brigand Money - Toxicroak at Level 23.
- Return to the Solaceon Ruins to tell Volo that you lot've retrieved the Wall Fragment.
- Give the Wall Fragment to Calaba inside the Solaceon Ruins.
- Head to Sludge Mound to notice Ursaluna.
- Defeat Ursaluna - Level 26.
- Study to Commander Kamado to share what yous learned almost Ursaluna.
- Ride on Ursaluna and follow the blue signals to sniff out Arezu in the Ruby-red Mirelands.
- Quell the frenzy of Lilligant, the Lady of the Ridge, at Braca Arena - Level thirty.
- Written report to Commander Kamado that y'all have accomplished your mission.
The Space-Time Distortions will start appearing upon inbound the Crimson Mirelands for the starting time fourth dimension.
Subsequently unlocking Ursaluna equally a Mount Pokémon, Professor Laventon will give y'all the Unown Inquiry Notes.
Jubilife Village
- 9 - A New Mission
- Go to the commander's function in Galaxy Hall to learn about your side by side mission.
Cobalt Coastlands and Jubilife Village
- 10 - The Lordless Island
- Complete enough research tasks to reach the rank of Third Star Rank - if non done and then already.
- Head to the Cobalt Coastlands and speak with Irida there.
- Defeat Irida - Glaceon Level xxx and Eevee Level fifteen.
- Caput to Veilstone Greatcoat to speak with Palina of the Pearl Association.
- Find the home of Iscan, a Diamond Clan warden, on Aipom Loma.
- Obtain a Dusclops, which can be found around Deadwood Haunt during the dark, and take it with you to Ican'south home.
- Go to Ginkgo Landing to call Basculegion.
- Ride on Bascuelgion to follow the bandits across the h2o to Firespit Island.
- Take back the Growlithe that the Miss Fortune sisters stole.
- Defeat Bandit Clover - Abomasnow Level 35.
- Defeat Bandit Money - Toxicroak Level 34.
- Defeat Bandit Charm - Rhydon Level 34 and Gengar Level 35.
- Quell the frenzy of Arcanine, the Lord of the Isles, at Molten Loonshit - Level 36.
- Report to Commander Kamado that you lot take accomplished your mission.
During this Mission, Bascuelgion will get i of your Mount Pokémon.
Jubilife Village and Coronet Highlands
- 11 - Scaling Perilous Heights
- Boxing Adaman to demonstrate what y'all're capable of - Leafeon Level 36 and Eevee Level 18.
- Complete enough research tasks to accomplish the rank of Fourth Star Rank - if not done so already.
- Head to the Jubilife Village training grounds to encounter Ingo of the Pearl Association.
- Head to the Coronet Highlands for your next mission.
- Brand your way upwards the mountain with Ingo.
- Go inside Wayward Cave.
- Laissez passer through Wayward Cave to continue your journey up the mount.
- Make your way upwardly the mountain with Ingo.
- Defeat Melli - Skuntank Level 40.
- Laissez passer through the Aboriginal Quarry to continue your journey upwardly the mountain.
- Make your way up the mountain with Ingo.
- Defeat Ingo - Machoke Level 41, Gliscor Level 42 and Tangela Level 41.
- Scale the cliffs with Sneasler's assist to reach Moonview Arena.
- Defeat Melli - Skuntank Level 44, Zubat Level 22 and Skorupi Level 22.
- Quell the frenzy of Electrode, the Lord of the Hollow, at Moonview Arena - Level 46.
- Written report to Commander Kamado that you take accomplished your mission.
You unlock Sneasler as a Mountain Pokémon during the in a higher place Mission.
Jubilife Village and Alabaster Icelands
- 12 - The Slumbering Lord of the Tundra
- Complete enough enquiry tasks to accomplish the rank of 5th Star Rank - if non done and so already.
- Defeat Akari / Rei when attempting to leave for the Alabaster Icelands - Mr. Mime Level 46, Staravia Level 46 and Pikachu Level 47.
- Head to the Alabaster Icelands.
- Go to encounter Gaeric of the Pearl Clan.
- Defeat Gaeric - Glalie Level 48 and Froslass Level 24.
- Speak with Sabi of the Diamond Clan.
- Catch upwardly to Sabi.
- Make your way to the summit floor of Snowpoint Temple.
- Defeat Sabi - Rhyperior Level 50, Electivire Level 30 and Magmortar Level 30.
- Defeat Braviary on the roof of Snowpoint Temple - Level 54.
- Glide with Braviary to land atop Avalugg's Legacy and obtain a slice of Eternal Ice.
- Make your way to Icepeak Loonshit.
- Quell the frenzy of Avalugg, the Lord of the Tundra, at Icepeak Arena - Level 56.
- Written report to Commander Kamado that you have accomplished your mission.
Braviary will be added to your Mount Pokémon collection once you defeat information technology in the above Mission.
Jubilife Hamlet, Obsidian Fieldlands and Ancient Retreat
- 13 - Disaster Looming
- Go outside and come across what'south happening.
- Seek out Lian.
- Seek out Mai.
- Speak to the person who dwells here at the retreat.
- Consummate the trails of the three lakes.
- Choose whose help you want on the path ahead: Adaman of the Diamond Clan or Irida of the Pearl Clan.
At this point y'all tin complete three missions - The Trail of Lake Verity, The Trail of Lake Valor and The Trail of Lake Acuity - in any lodge alongside your chosen clan leader. Your choice in clan leader also decides the guild in which you face two legendary Pokémon.
Obsidian Fieldlands
- 14 - The Trail of Lake Verity
- Caput to Lake Verity, which can exist found in the Obsidian Fieldlands.
- Enter the cavern that appeared upon Lake Verity.
- Boxing the Pokémon lurking within Verity Cavern - Alpha Goodra Level 58.
- Complete Mesprit'southward trail in Verity Cave.
- Return to Mistress Cogita'due south home - if this is the first or 2d trail you lot complete.
Crimson Mirelands
- 15 - The Trail of Lake Valor
- Caput to Lake Valor, which can exist institute in the Carmine Mirelands.
- Enter the cavern that appeared upon Lake Valor.
- Boxing the Pokémon lurking with Valor Cave - Blastoff Overqwil Level 58.
- Attempt to hit Azelf with balms.
- Don't give up - keep trying to hitting Azelf with balms.
- Keep trying to hitting Azelf with balms.
- Render to Mistress Cogita's home - if this is the first or second trail you complete.
Alabaster Icelands
- xvi - The Trial of Lake Acuity
- Head to Lake Vigil, which can be found in the Alabaster Icelands.
- Enter the cavern that appeared upon Lake Acuity.
- Boxing the Pokémon lurking within Vigil Cave - Alpha Zoroark Level 58.
- Complete Uxie's trail in Acuity Cavern.
- Render to Mistress Cogita'south home - if this is the first or second trail you lot complete.
Jubilife Village and Coronet Highlands
- 17 - Atop Mountain Coronet
- Head to Mount Coronet's summit in pursuit of Commander Kamado.
- Defeat Beni - Mismagius Level 59, Sneasler Level 59, Gallade Level threescore and Gardevoir Level 60.
- Talk sense into Commander Kamado at Mount Coronet'due south superlative.
- Defeat Commander Kamado - Braviary Level 61, Snorlax Level 62, Clefable Level 61 and Golem Level 61.
- Bring the Blood-red Chain to the belvedere in the Temple of Sinnoh.
- Battle and grab Palkia / Dialga - Level 65.
Coronet Highlands
- 18 - The Counterpart
- Head for the identify where you tin obtain Origin Ore.
- Battle Bandit Charm - Rhydon Level 61 and Gengar Level 62.
- Study back to Professor Laventon with the Origin Ore.
- Prepare well, so make for the temple of Sinnoh once more.
- Quell the frenzy, battle and catch Dialga / Palkia Level 65.
Congratulations - you've completed the main entrada for Pokémon Legends: Arceus!
Now you can enjoy the post-game, starting with the next mission - A New Mean solar day Dawns.

Other Pokémon Legends: Arceus guides
Here are our other Pokémon Legends: Arceus guide to assist yous in your journeying across the Hisui region:
Pokémon:
- Pokémon Legends Arceus starters Rowlet, Cyndaquil and Oshawott: Which is the all-time starter?
- Pokémon Legends Arceus Pokédex: Every Pokémon in the Hisui Pokédex listed
- Shiny Pokémon: How to get Shiny Pokémon, Shiny Charm and shiny odds explained
- Hisuian regional forms and new Pokémon introduced in Legends: Arceus
- Unown locations in Pokémon Legends: Arceus
- Endeavor Levels: How to raise Endeavor Levels and Grit items explained
Evolutions:
- Evolution methods listing and how to evolve every Pokémon in Hisui
- Friendship - How Friendship works, how to raise Friendship and Friendship Checker location
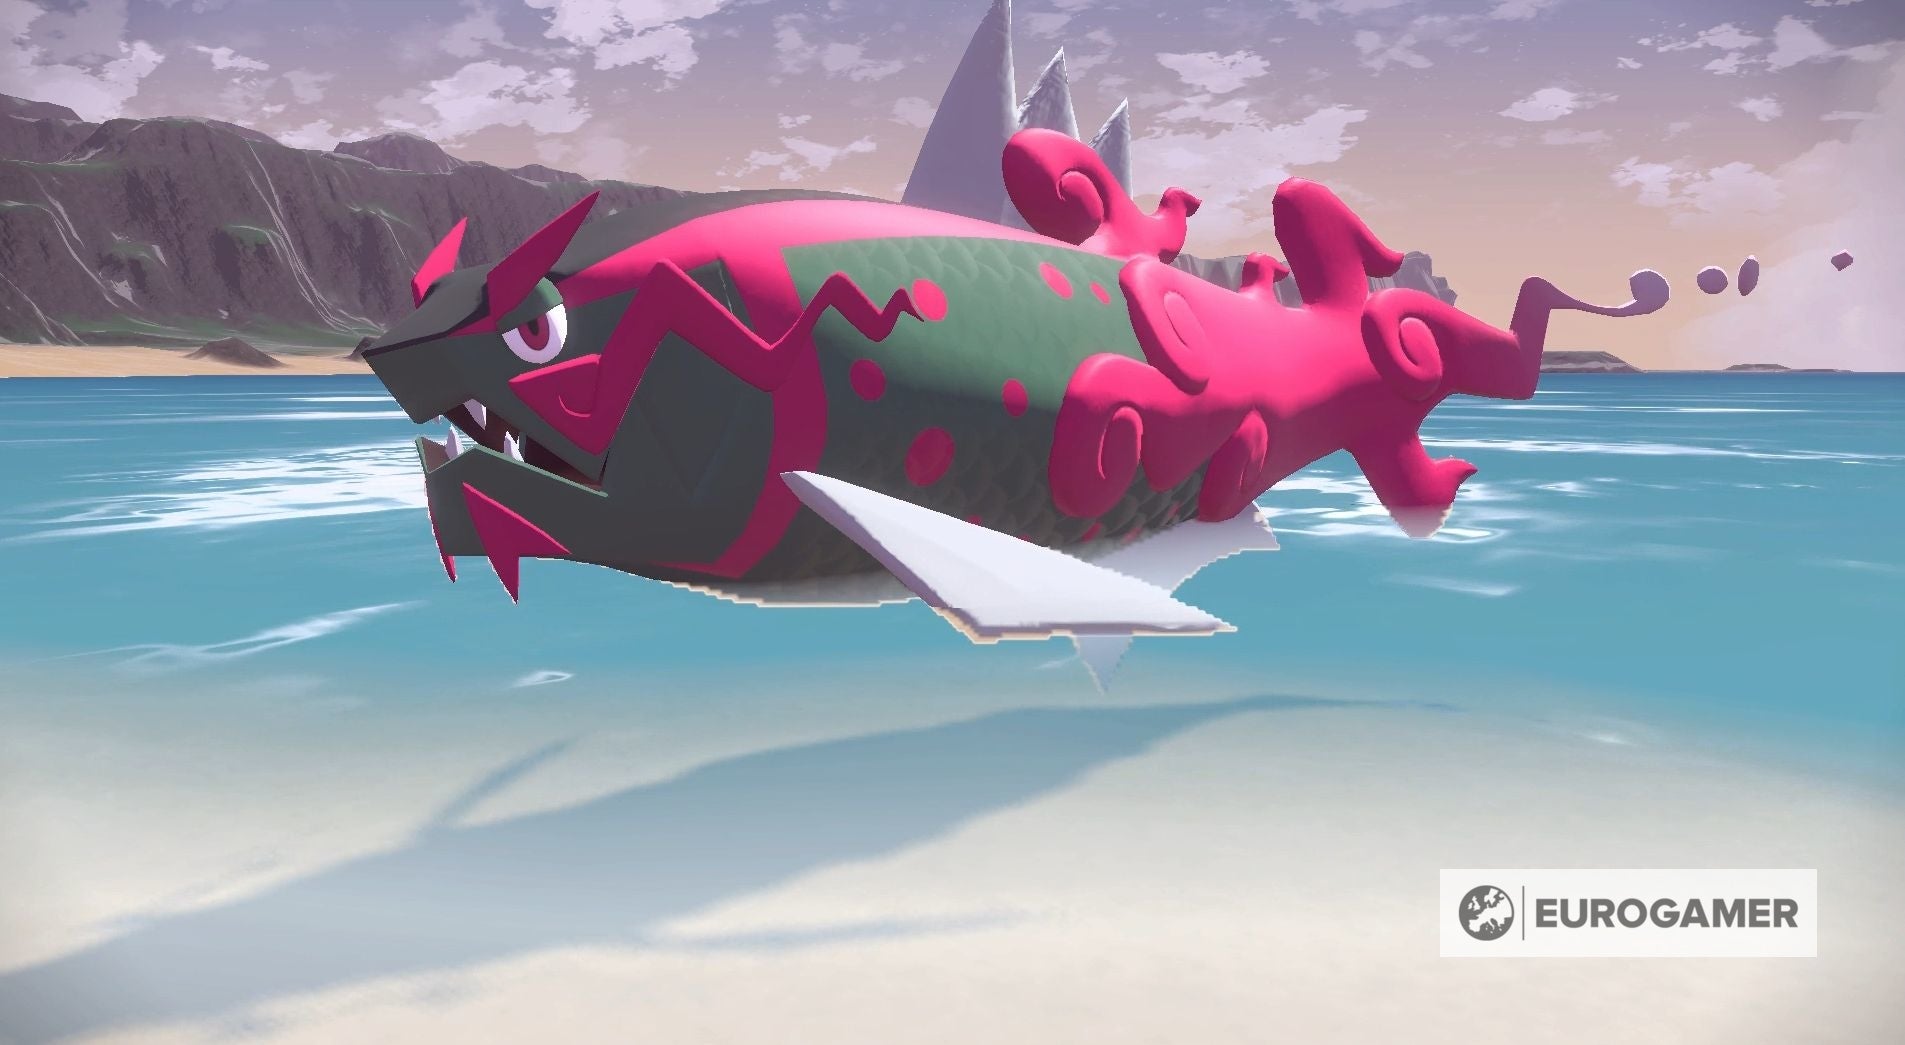
- How to evolve Basculin into Basculegion
- Eevee evolution: How to evolve Eevee into Umbreon, Sylveon, Espeon, Leafeon, Glaceon, Flareon, Vaporeon and Jolteon
- How to evolve Hisui Growlithe into Hisui Arcanine
- How to evolve Hisui Qwilfish into Overqwil
- How to evolve Scyther into Kleavor or Scizor
- Black Augurite location: How to become Black Augurite
- How to evolve Hisui Sneasel into Sneasler and Johto Sneasel into Weavile
- How to evolve Stantler into Wyrdeer
- How to evolve Ursaring into Ursaluna, including the Full Moon and Peat Block explained
Requests:
- Requests in Pokémon Legends: Arceus explained
- Request 8 'Bothersome Bidoof'
- Request 10 'Wurple's Evolved'
- Asking sixteen 'Foreign Happenings at Midnight'
- Asking 17 'To Bloom or Not to Bloom'
- Asking 21 'Dorsum Aisle Mr. Mime'
- Asking 23 - 'Getting Ahold of New Wares'
- Request 41 'An Elegant Tail'
- Asking 43 - 'More New Wares'
- Request l 'Double the Tails, Double the Fun'
- Request 59 'Misdreavus the Hairstyle Muse'
- Request 61 'Even More New Wares'
- Request 66 'The Body of water's Legend'
- Asking 69 'Gone Astray... in the Highlands'
- Request 71 'New Wares Yet Once more'
Noble Pokémon:
- Kleavor boss fight: How to beat Kleavor
Of import features and information:
- How to break rocks
- How to earn Research Points and consummate Enquiry Tasks
- Star Rank: How to increase Star Rank and Star Rank rewards
- Pokémon Legends Arceus length: How long it takes to trounce the main entrada and how many missions there are explained
- Mystery Gift codes: How to unlock Mystery Gift
Save file and early-buy bonuses:
- How to get Hisuian Growlithe Kimono Set and Baneful Fox Mask
- How to become Darkrai and the Modern Squad Galactic Fix
- How to get the Pikachu and Eevee Mask
- How to become Shaymin and the Shaymin Kimono Set
Tips and tricks for Pokémon Legends: Arceus
Here are some tips which will help you make the most out of your hazard across the Hisui region in Pokémon Legends: Arceus:
- Always be on the lookout for new Pokémon! Whether it'southward in the sky, amongst the ocean waves or just subconscious in a wood - Pokémon are everywhere in Legends: Arceus and, if you forget to wait upwardly, you might simply miss one.
- Experiment with different types of Poké Balls. Each Poké Ball type in Legends: Arceus has a specific reward, such as Feather Balls beingness ideal for catching flying Pokémon. Learning these advantages and experimenting with unlike Poké Balls volition help you catch them all.
- Can't notice a certain Pokémon? Try going to sleep. Certain Pokémon only appear during the day or become easier to grab when they're asleep at nighttime. By going to slumber, you can chop-chop spring to a specific time of day and, hopefully, find the Pokémon you're looking for.
- Return to previous locations to fully explore them with Mount Pokémon. As you journeying through Hisui, you'll unlock new Mount Pokémon which will permit you to traverse the wilderness. This means yous can return to previous locations and use them to achieve areas you might not take been able to reach otherwise.
- Keep rails of your Pokémon Inquiry Points. Collecting these points allows you to achieve the side by side Star Rank, which will unlock new items, so make sure you lot keep an eye on them!
- Option upwards crafting materials whenever y'all see them. From berries and apricorns to Medical Leeks and Tumblestones, Hisui is total of useful items for crafting. It'south a good thought to gather these items when you see them, then y'all're never brusk on crafting materials.
- Upgrade your bag. You can only bear a certain number of items with yous, and so, when you accept the spare cash, make sure you invest into upgrading your bag. This style you'll be able to assemble more items out in the wilds of Hisui.
- Call up to complete Requests. Many Requests offer a small reward for completion, only others will upgrade the facilities in Jubilife Village, such as the local shop or farm. These facilities can be incredibly useful in your journey, then make sure you take the time to improve them.
- Prepare new base camps. As you explore the Hisui region, you lot'll be able to assist the Galaxy Trek Squad in building new base camps. Doing then will provide y'all with greater access to the base camp facilities, such every bit your detail storage, and a new fast travel spot.
- Never be agape to run away from an Alpha Pokémon. These creatures, especially in the early game, can easily knock out both your team and yourself, so, if you don't desire to lose any of your items, be prepared for a jerky go out.
- Sentry where you stand. Any Pokémon can impairment yous and, if yous're careful during a boxing, you might become hit past one of their attacks.
- Gather lost satchels. If a player does faint in Legends: Arceus, then they volition exit behind a satchel where they fell. You can gather these satchels and, in doing so, earn Merit Points, which tin be exchanged for useful items.
Practiced luck in the Hisui region!

Pokemon Legends Arceus Kamado Fight,
Source: https://www.eurogamer.net/pokemon-legends-arceus-walkthrough-guide-missions-objectives-8039
Posted by: riveraprattaking.blogspot.com
0 Response to "Pokemon Legends Arceus Kamado Fight"
Post a Comment